


|
|
||

|
Making your project look as professional as possible is as important as trying to make sure it works as well as you had intended when starting the task - and this involves |
||


|
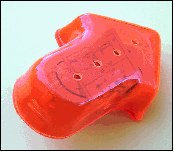
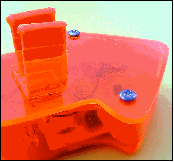
Carefully cutting a shape similar to the arrow shown here and then preparing a simple cut-out in another piece of plywood or MDF will create a simple plug & yoke pairing. The acrylic should be heated sufficiently to soften it - to about 200 Centigrade - in a small oven. Allowing for the thickness of plastic on both sides of the 3-D shape should allow the yoke to be pushed down giving a smooth-edged and well defined case. (555 Timer / Direction indicator) |
||



|
Any untidy parts at the base can be trimmed carefully with a saw or trimmed on a band-saw. The rough edge can then be finished and polished before a base-plate is cut to the exact size of the finished moulding. Small blocks of plastic or wood glued to the inside of the case will provide 'anchorage' points for small machine screws that should hold the base in place and yet allow easy access for the changing of batteries. |
||




|
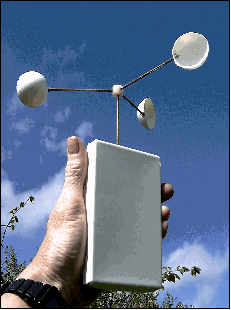
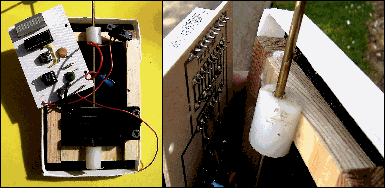
Vacuum Forming will give an equally professional finish to your project. The anemometer shown here used vacuum forming but the case was made around a small wooden frame. This was necessary to allow different small circuit boards to be screwed firmly into place. |
||
|
|||||||||||

|
|
||
|
|||||||||||