

|
Imagine that a successful business has decided to create a refreshment area inside the larger space of one of their shops and have asked you to design the style and identity for the new venture. You will need to create a suitable 'themed name' for the space / café and decide on a range of designs that could be used to furnish it. |
||


|
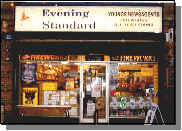
TASK ONE : We have already experienced a fair amount of research in looking at the frontages of the stores on the previous few pages. For the sake of realism it would be ideal to identify a suitable space - a local store or organisation that you have visited and in which you can gauge the size of a particular area. Ideally the task should start with a presentation sketch or photograph of the chosen site. |
||


|
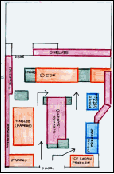
TASK TWO : Using either a drawing board or a CAD package complete a scaled drawing of the area available for the design and show the likely patterns of customer movement around the site. Obviously some features will need to be away from the routes taken by most people and the viewing direction of any features will need to be planned. Remember to include a scale - colour coding of areas could be used to make the whole plan more easily understood. |
||


|
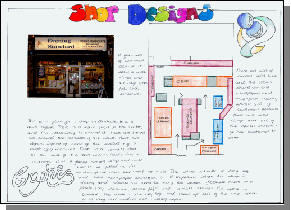
If you have designed an ID sheet on which to present your project you should try to make sure that the whole task is drawn or printed onto these sheets. The final presentation will look far better if each sheet shows a distinctive style. |
||


|
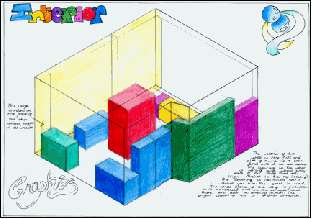
TASK THREE : Having already learned the drawing conventions - It should now be an easy task to produce an |
||


|
|||||||||||

|
|
||
|
|||||||||||
|
|
||