


IF IN DOUBT ASK !
~ One, Two & Three Point Perspectives ~
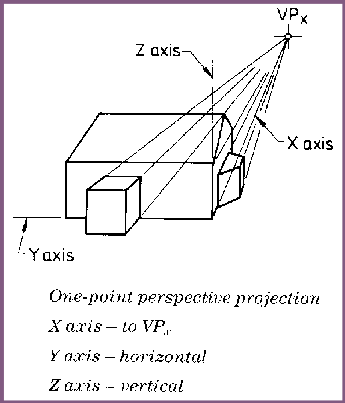
ONE-POINT PERSPECTIVE
Lines representing ‘horizontal’ surfaces – not ‘straight-on’ to the viewer – disappear to one point on an imaginary horizon.
Start by drawing in the horizon with one ‘vanishing-point’ somewhere along its length. (VP1) All other lines are drawn vertically on the paper/page.
Start by drawing in the horizon with one ‘vanishing-
TWO-
Start by drawing in the horizon with two ‘vanishing-points’, VP 1 and VP 2. ( y and x)

One-Point Perspective projection
X-axis ~ joined to VP 1
Y-axis ~ horizontal
Z-axis ~ vertical
X-
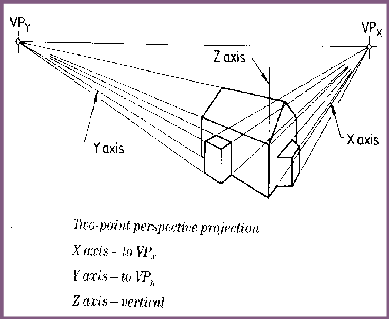

Two-Point Perspective
Y-axis ~ joined to VP 1
X-axis ~ joined to VP 2
Z-axis ~ vertical
Y-


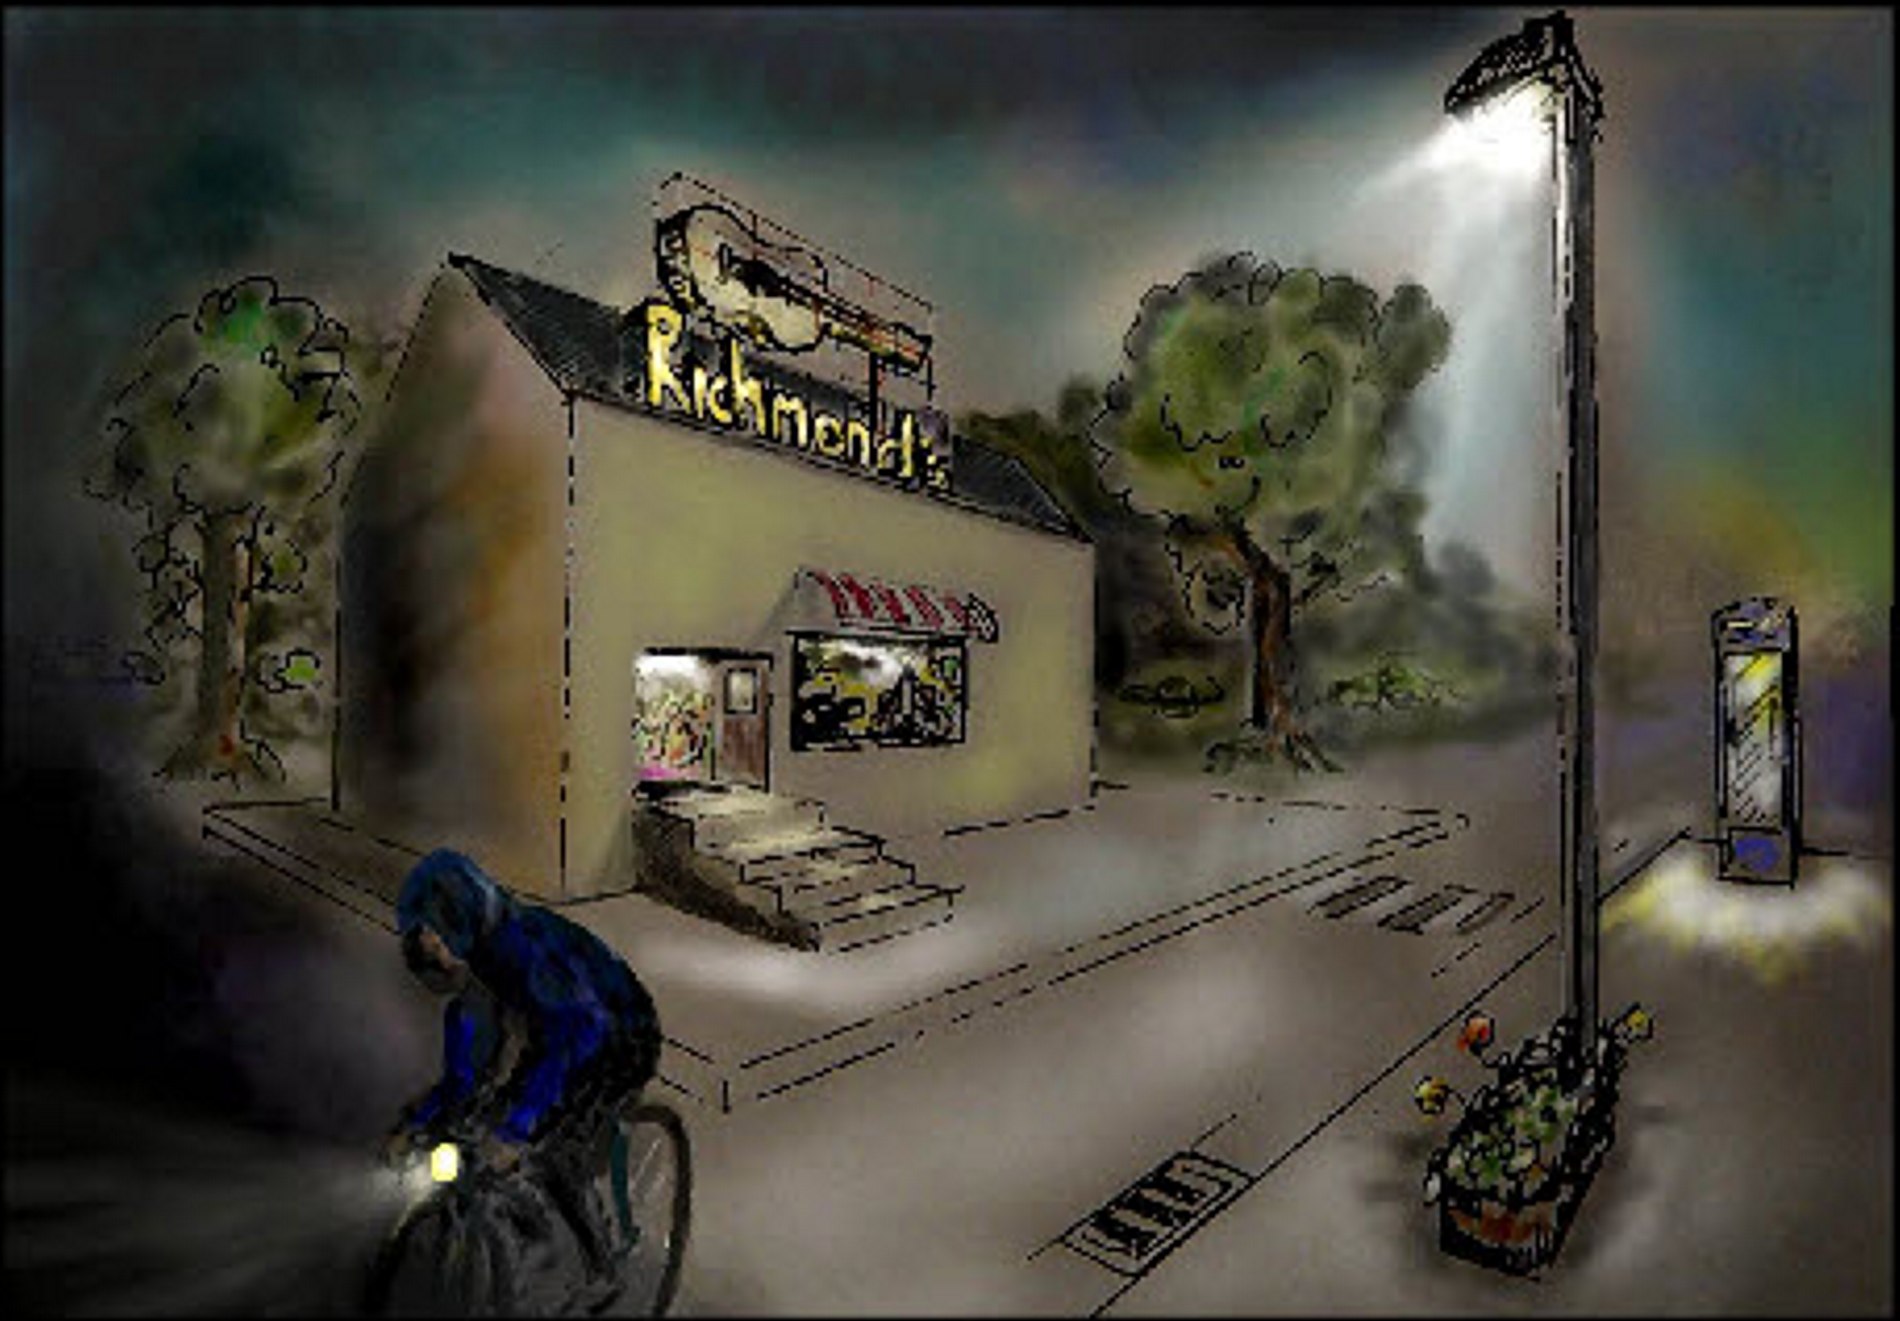
Horizontal lines all disappear at these vanishing-points whilst all other ‘upright lines are drawn vertically on the page. The roof of the building seen here would be a ‘special case’ and can be drawn within a ‘box-frame’. Imagine the roof area as being in a rectangle… the apex-ridge of the roof is midway along the top of this rectangular box. Join the ridge-ends to the tops of walls
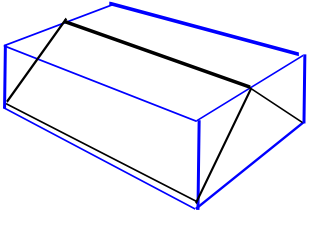
Many similar and more complicated shapes can be constructed using this technique of ‘box-framing’ - sometimes called ‘crating’
THREE-POINT PERSPECTIVE
This differs in that now there are three vanishing points to draw in. Notice how some of them may be off the area of the page. Notice too that as they get closer together the shape they contain becomes much more exaggerated.
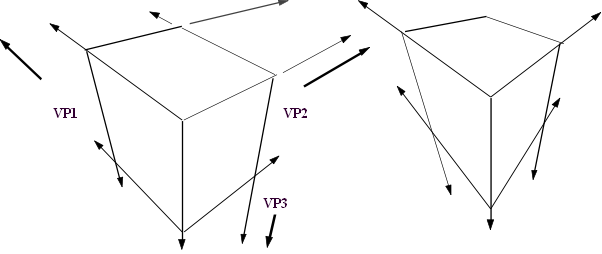
If you want a very dramatic look… similar to a wide-angle’ photograph then use VP’s very close together. If you want a shape that looks much ‘calmer’ and much more normal then use VP’s that are far apart. For more details follow the link to the ‘Drawing Conventions’ section of this site.

Step-by-step guide

Check out the DESIGN-CYCLE section
Why donate ?